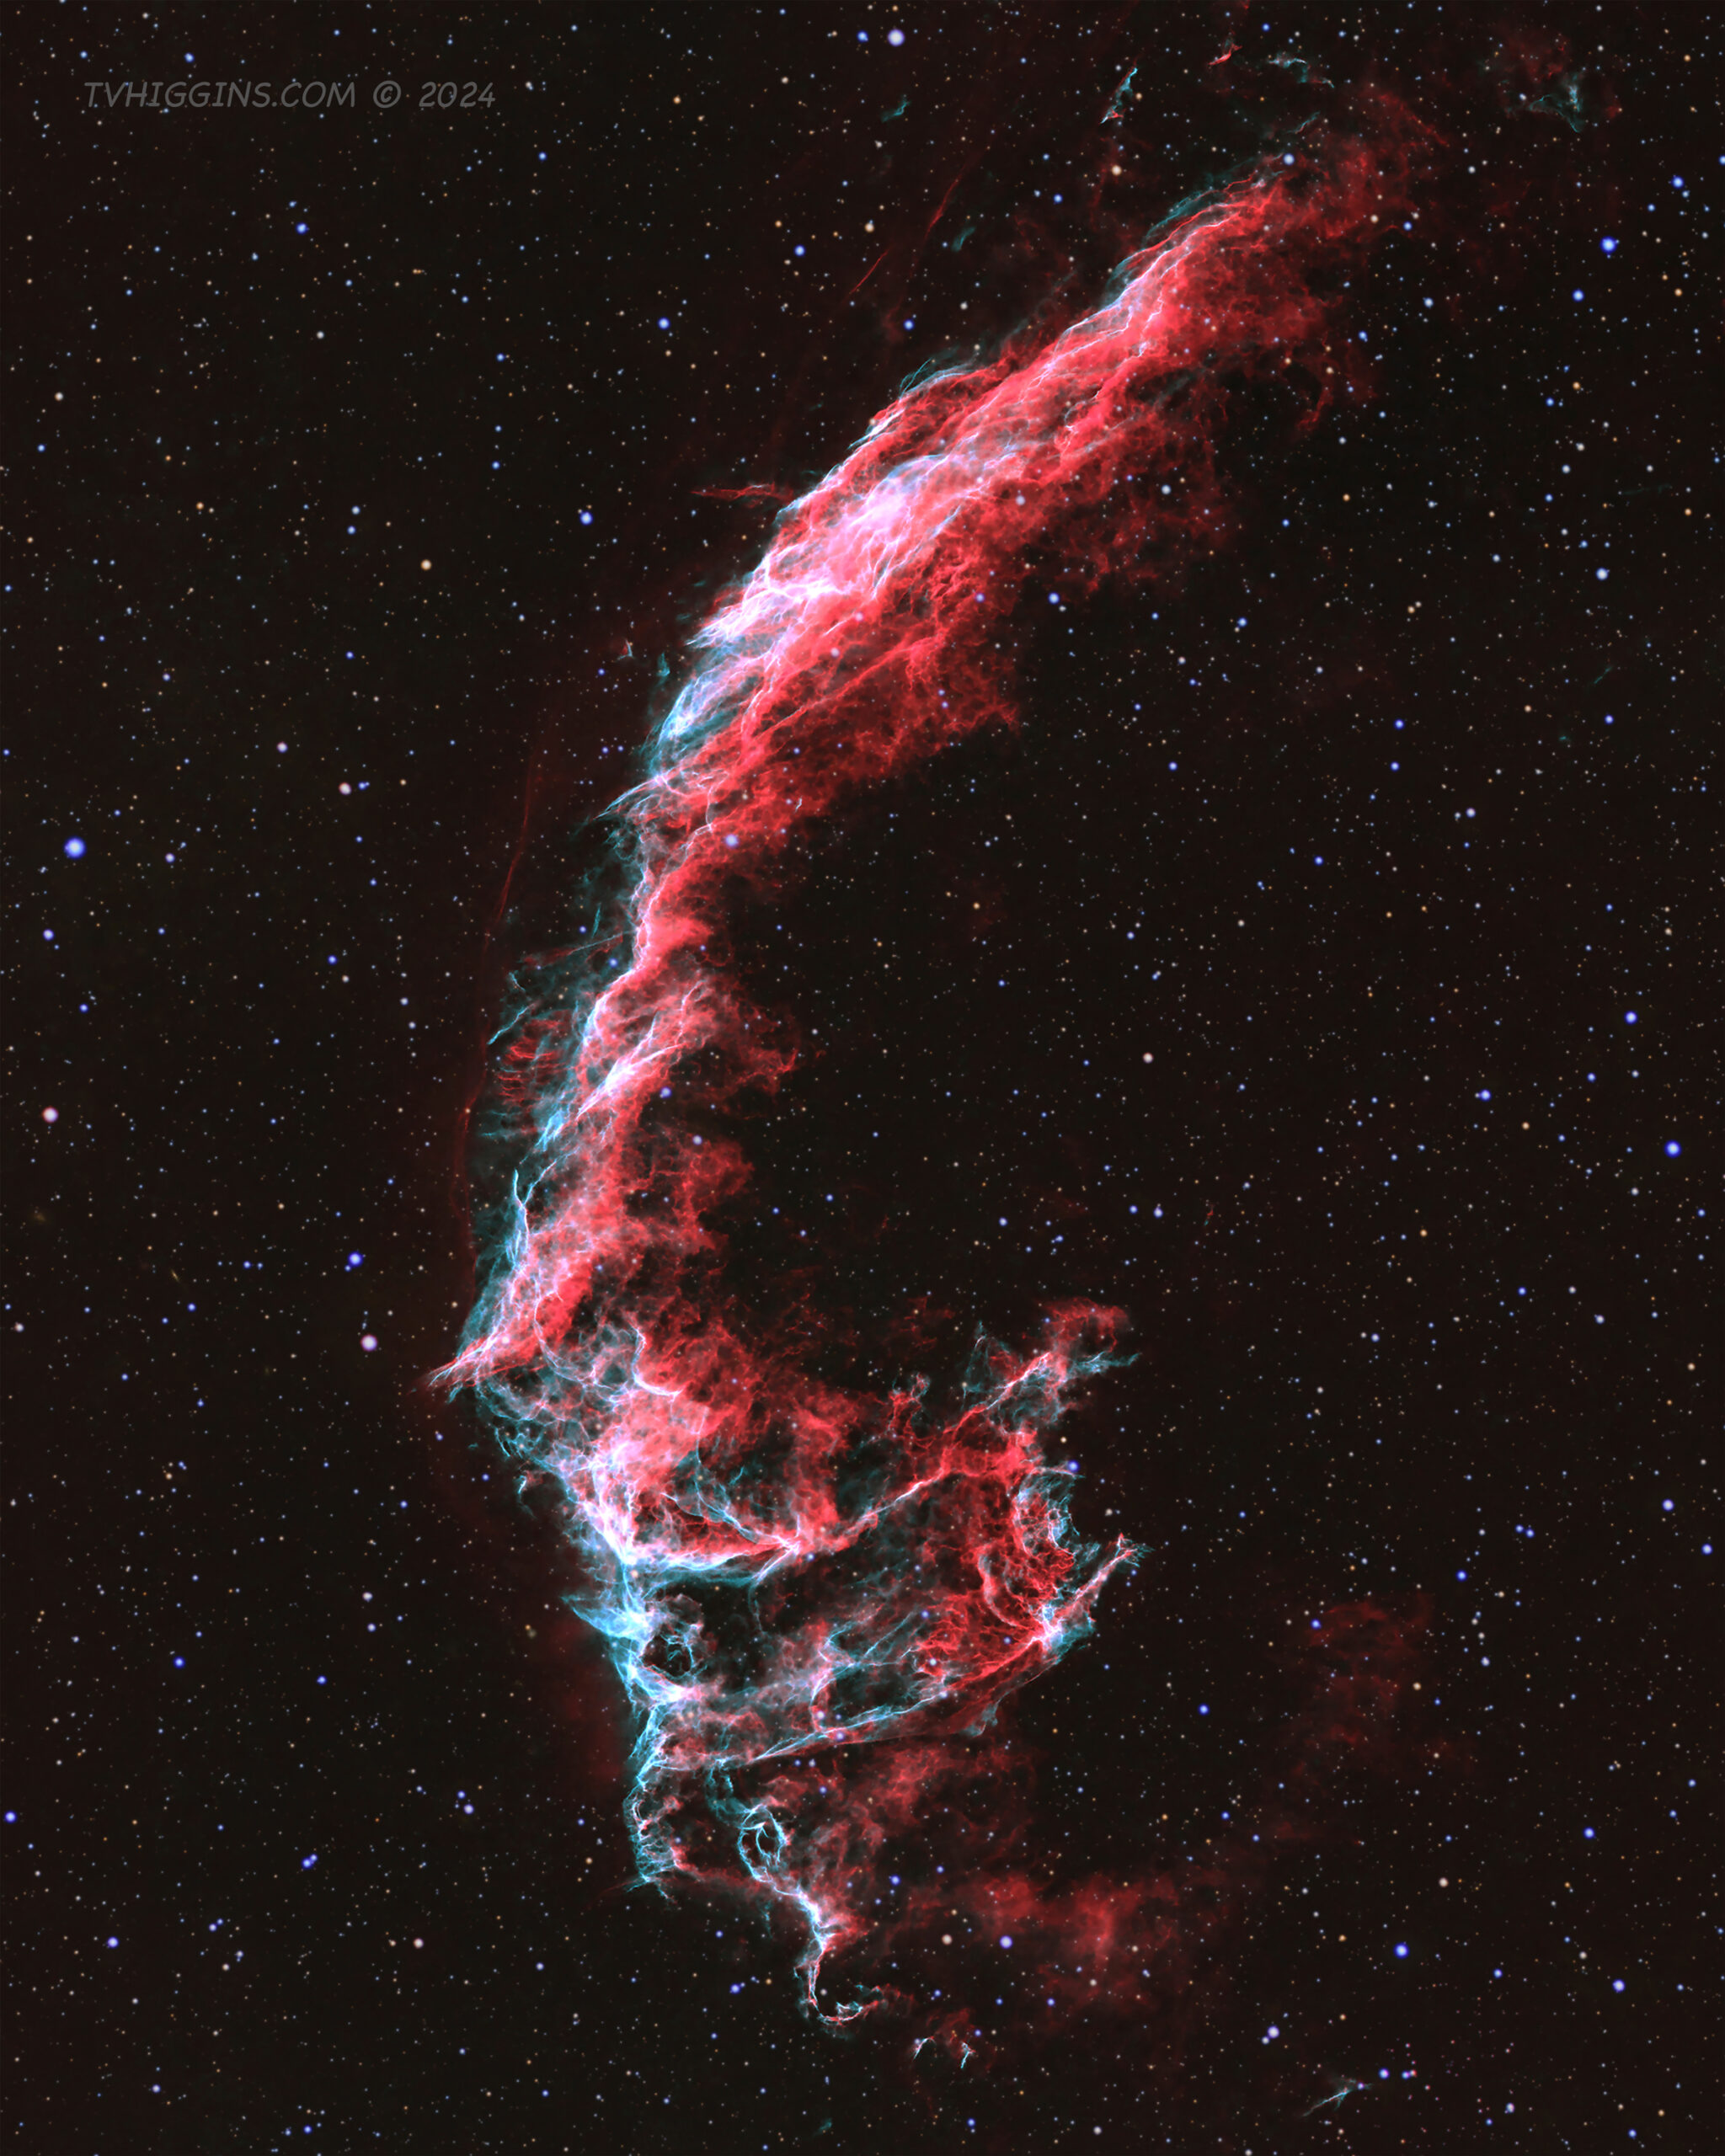
Pickering’s Triangle
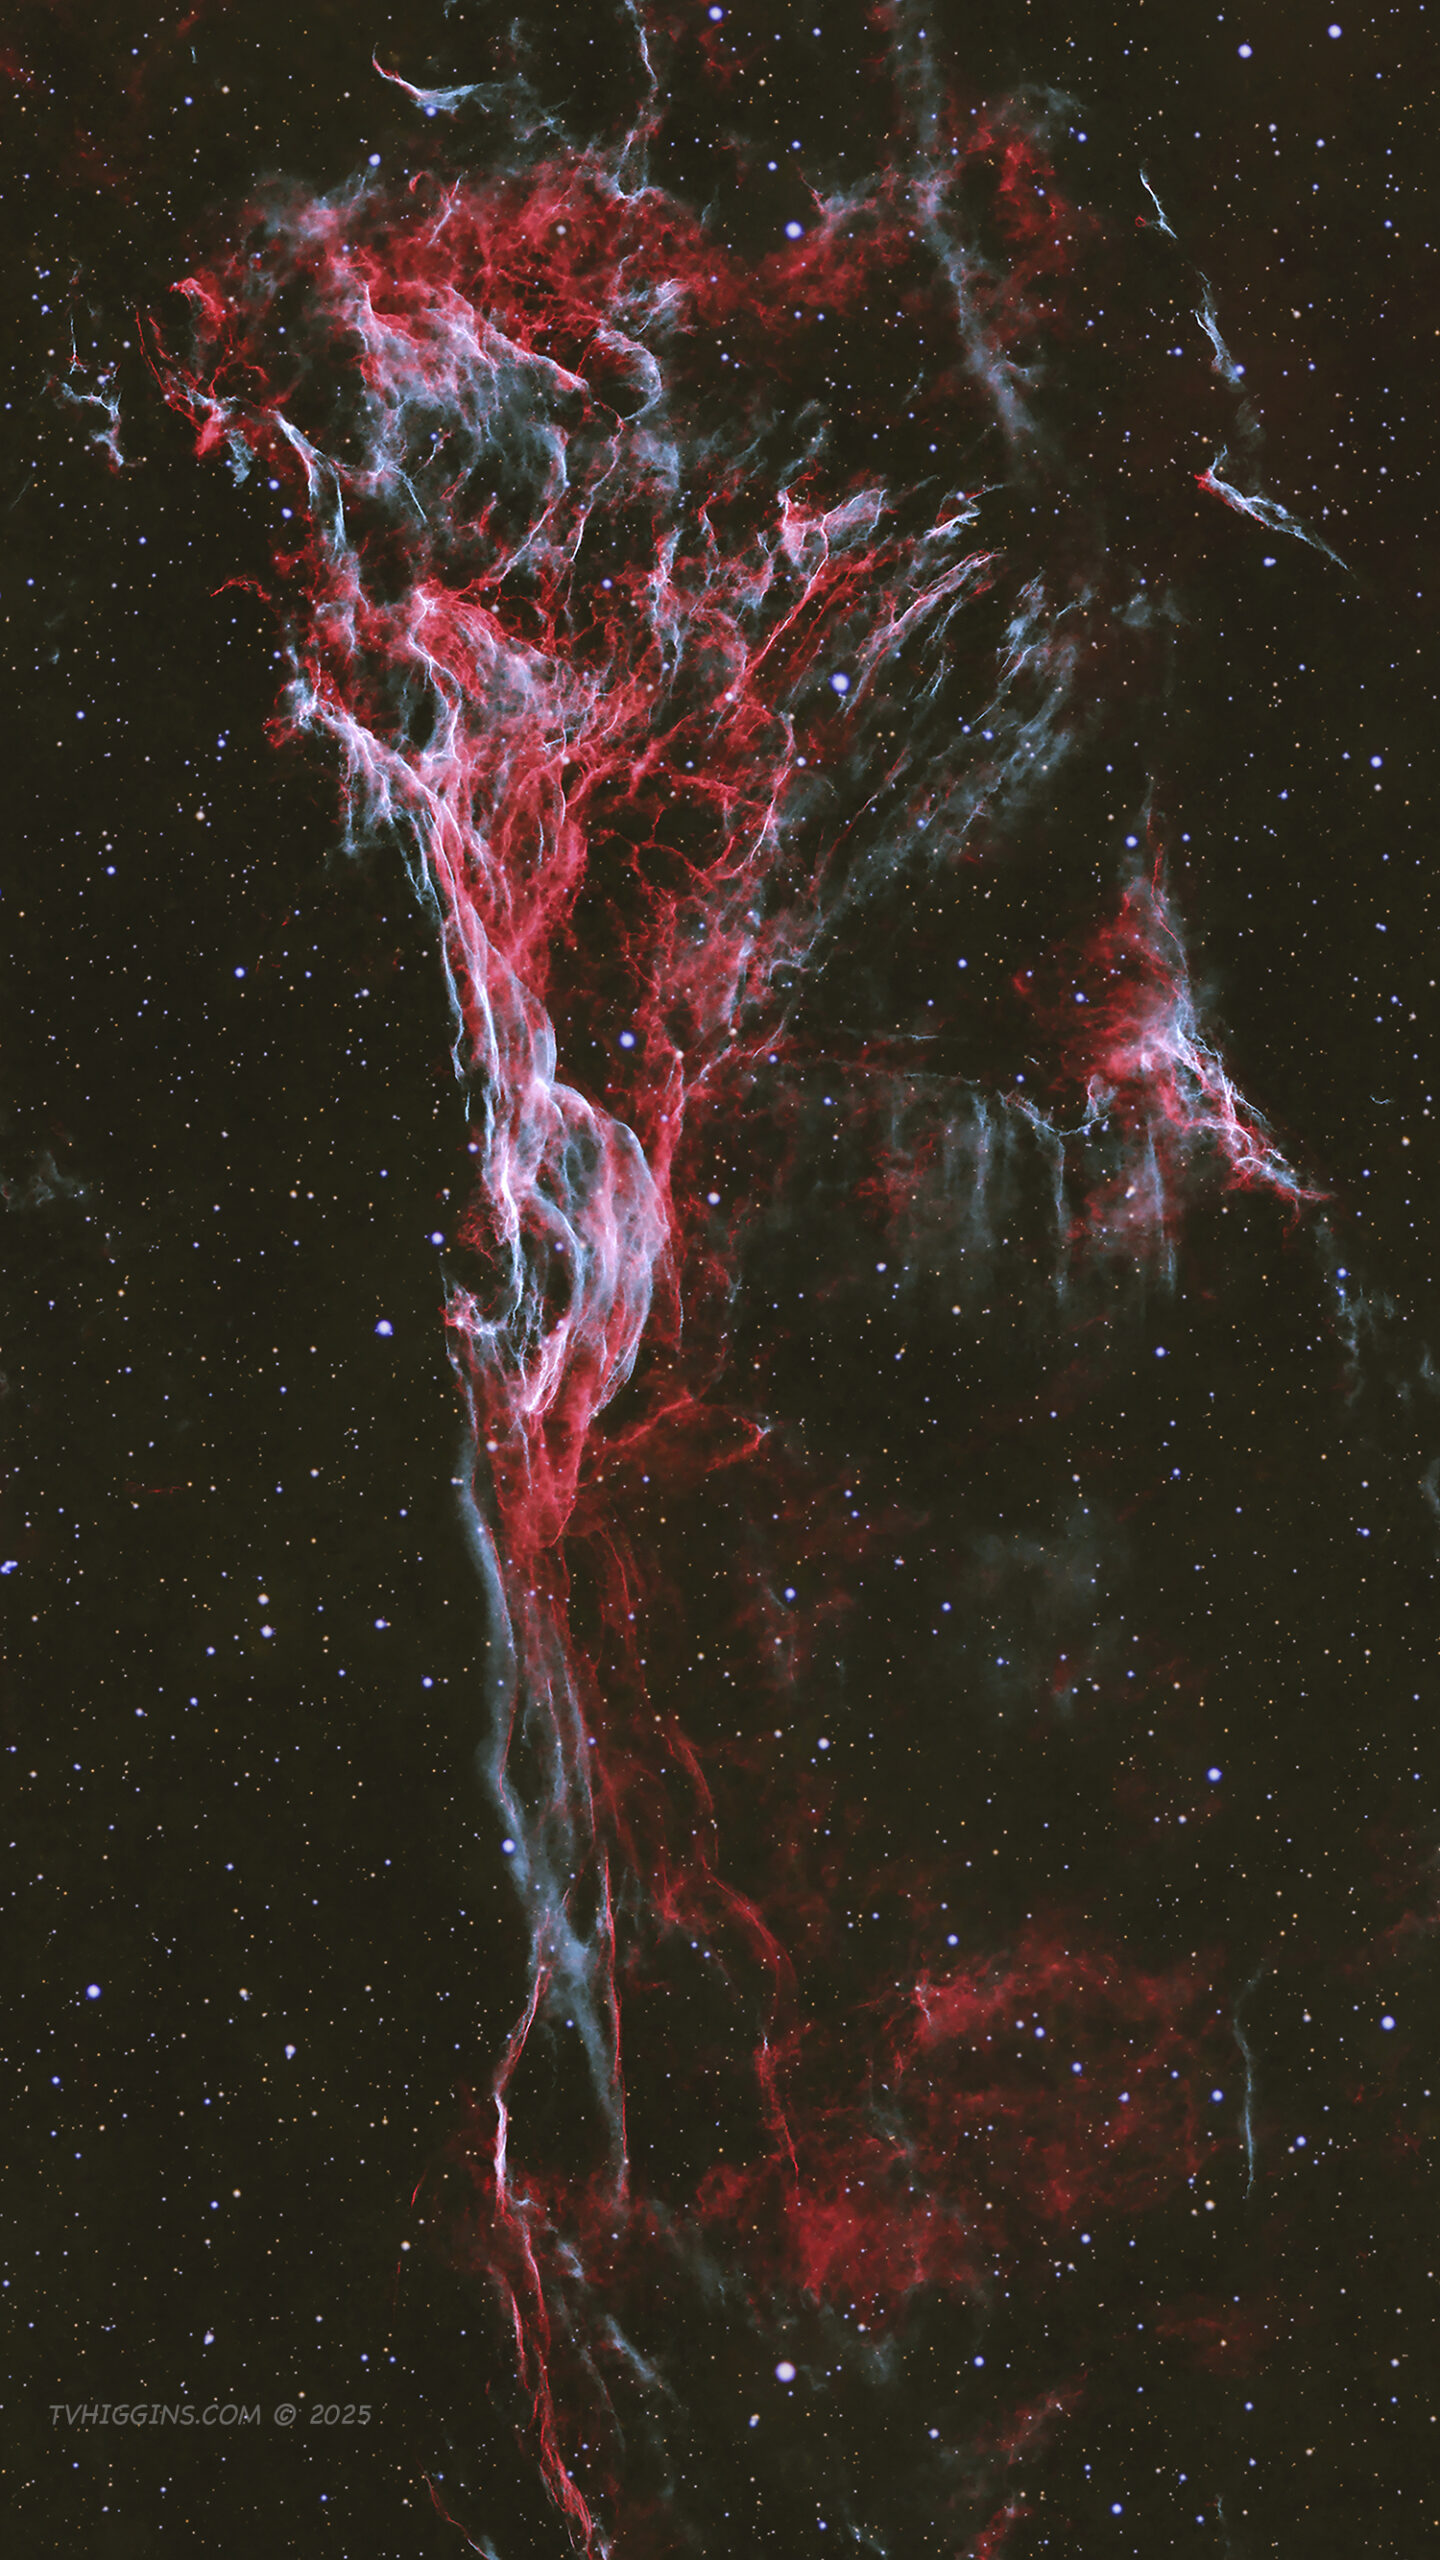
Pickering’s Triangle shot in HaOiiiRGB
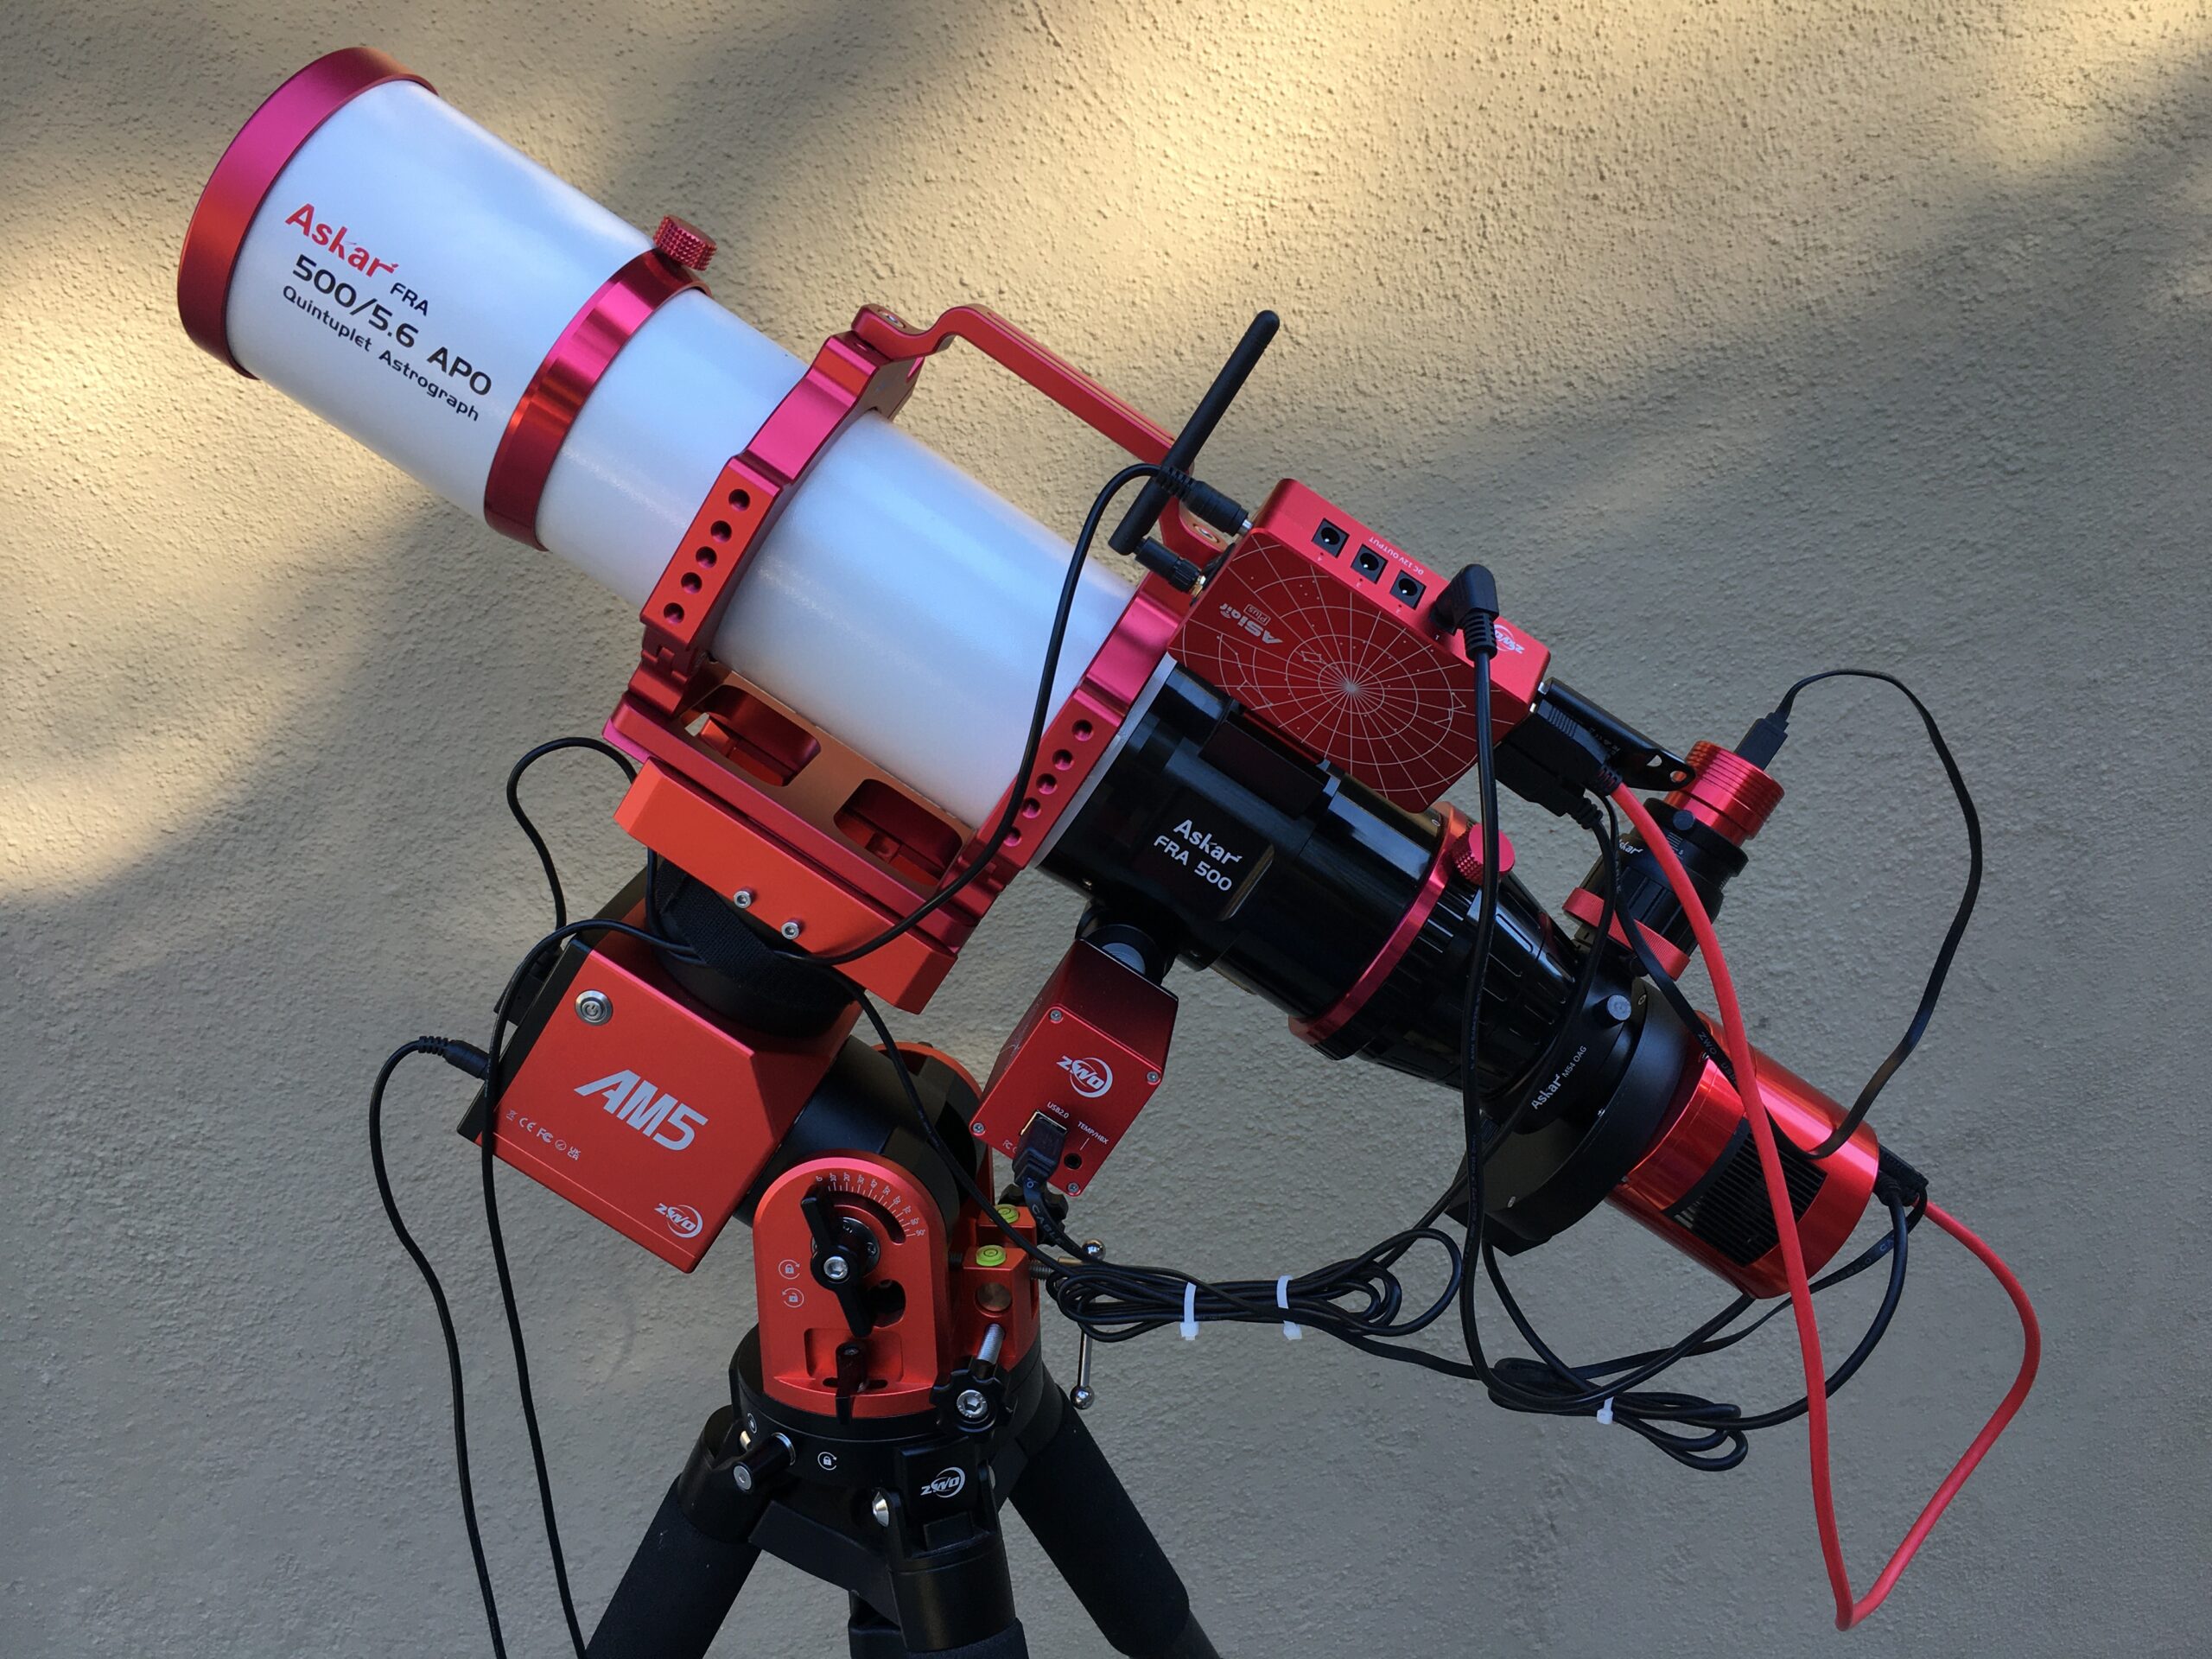
- Telescope: Askar FRA 500 (90-mm aperture)
- Mount: ZWO AM5 (strain-wave gear drive)
- Autoguiding: Off-axis guider with ZWO ASI120-MM Mini camera
- Controller: ZWO ASIair
- Optical Configuration: Flat-field quintuplet Petzval refractor (f/5.6 w/o reducer)
- Filterwheel: RGB (Astronomik 1.25-in.); H-alpha (Baader 7-nm); O-III (Baader 4-nm)
- Imaging Camera: ZWO ASI1600-MM Pro
- Camera Gain: 70 (RGB); 0 (H-alpha & O-III)
- Sensor Temperature: -10° C
- Light Frames: ~120 (H-alpha & O-III); 40 (RGB)
- Calibration Frames: 60 darks, 60 biases, 30 flats per filter
- Total Exposure Time per Filter: 8 h (H-alpha & O-III); 0.66 h (RGB)
- Pre-Processing & Processing: PixInsight
- Post-processing: Photoshop CC
- Imaging Locations: Sierra Nevada Mountains (8,600 ft.); Los Angeles, Calif.
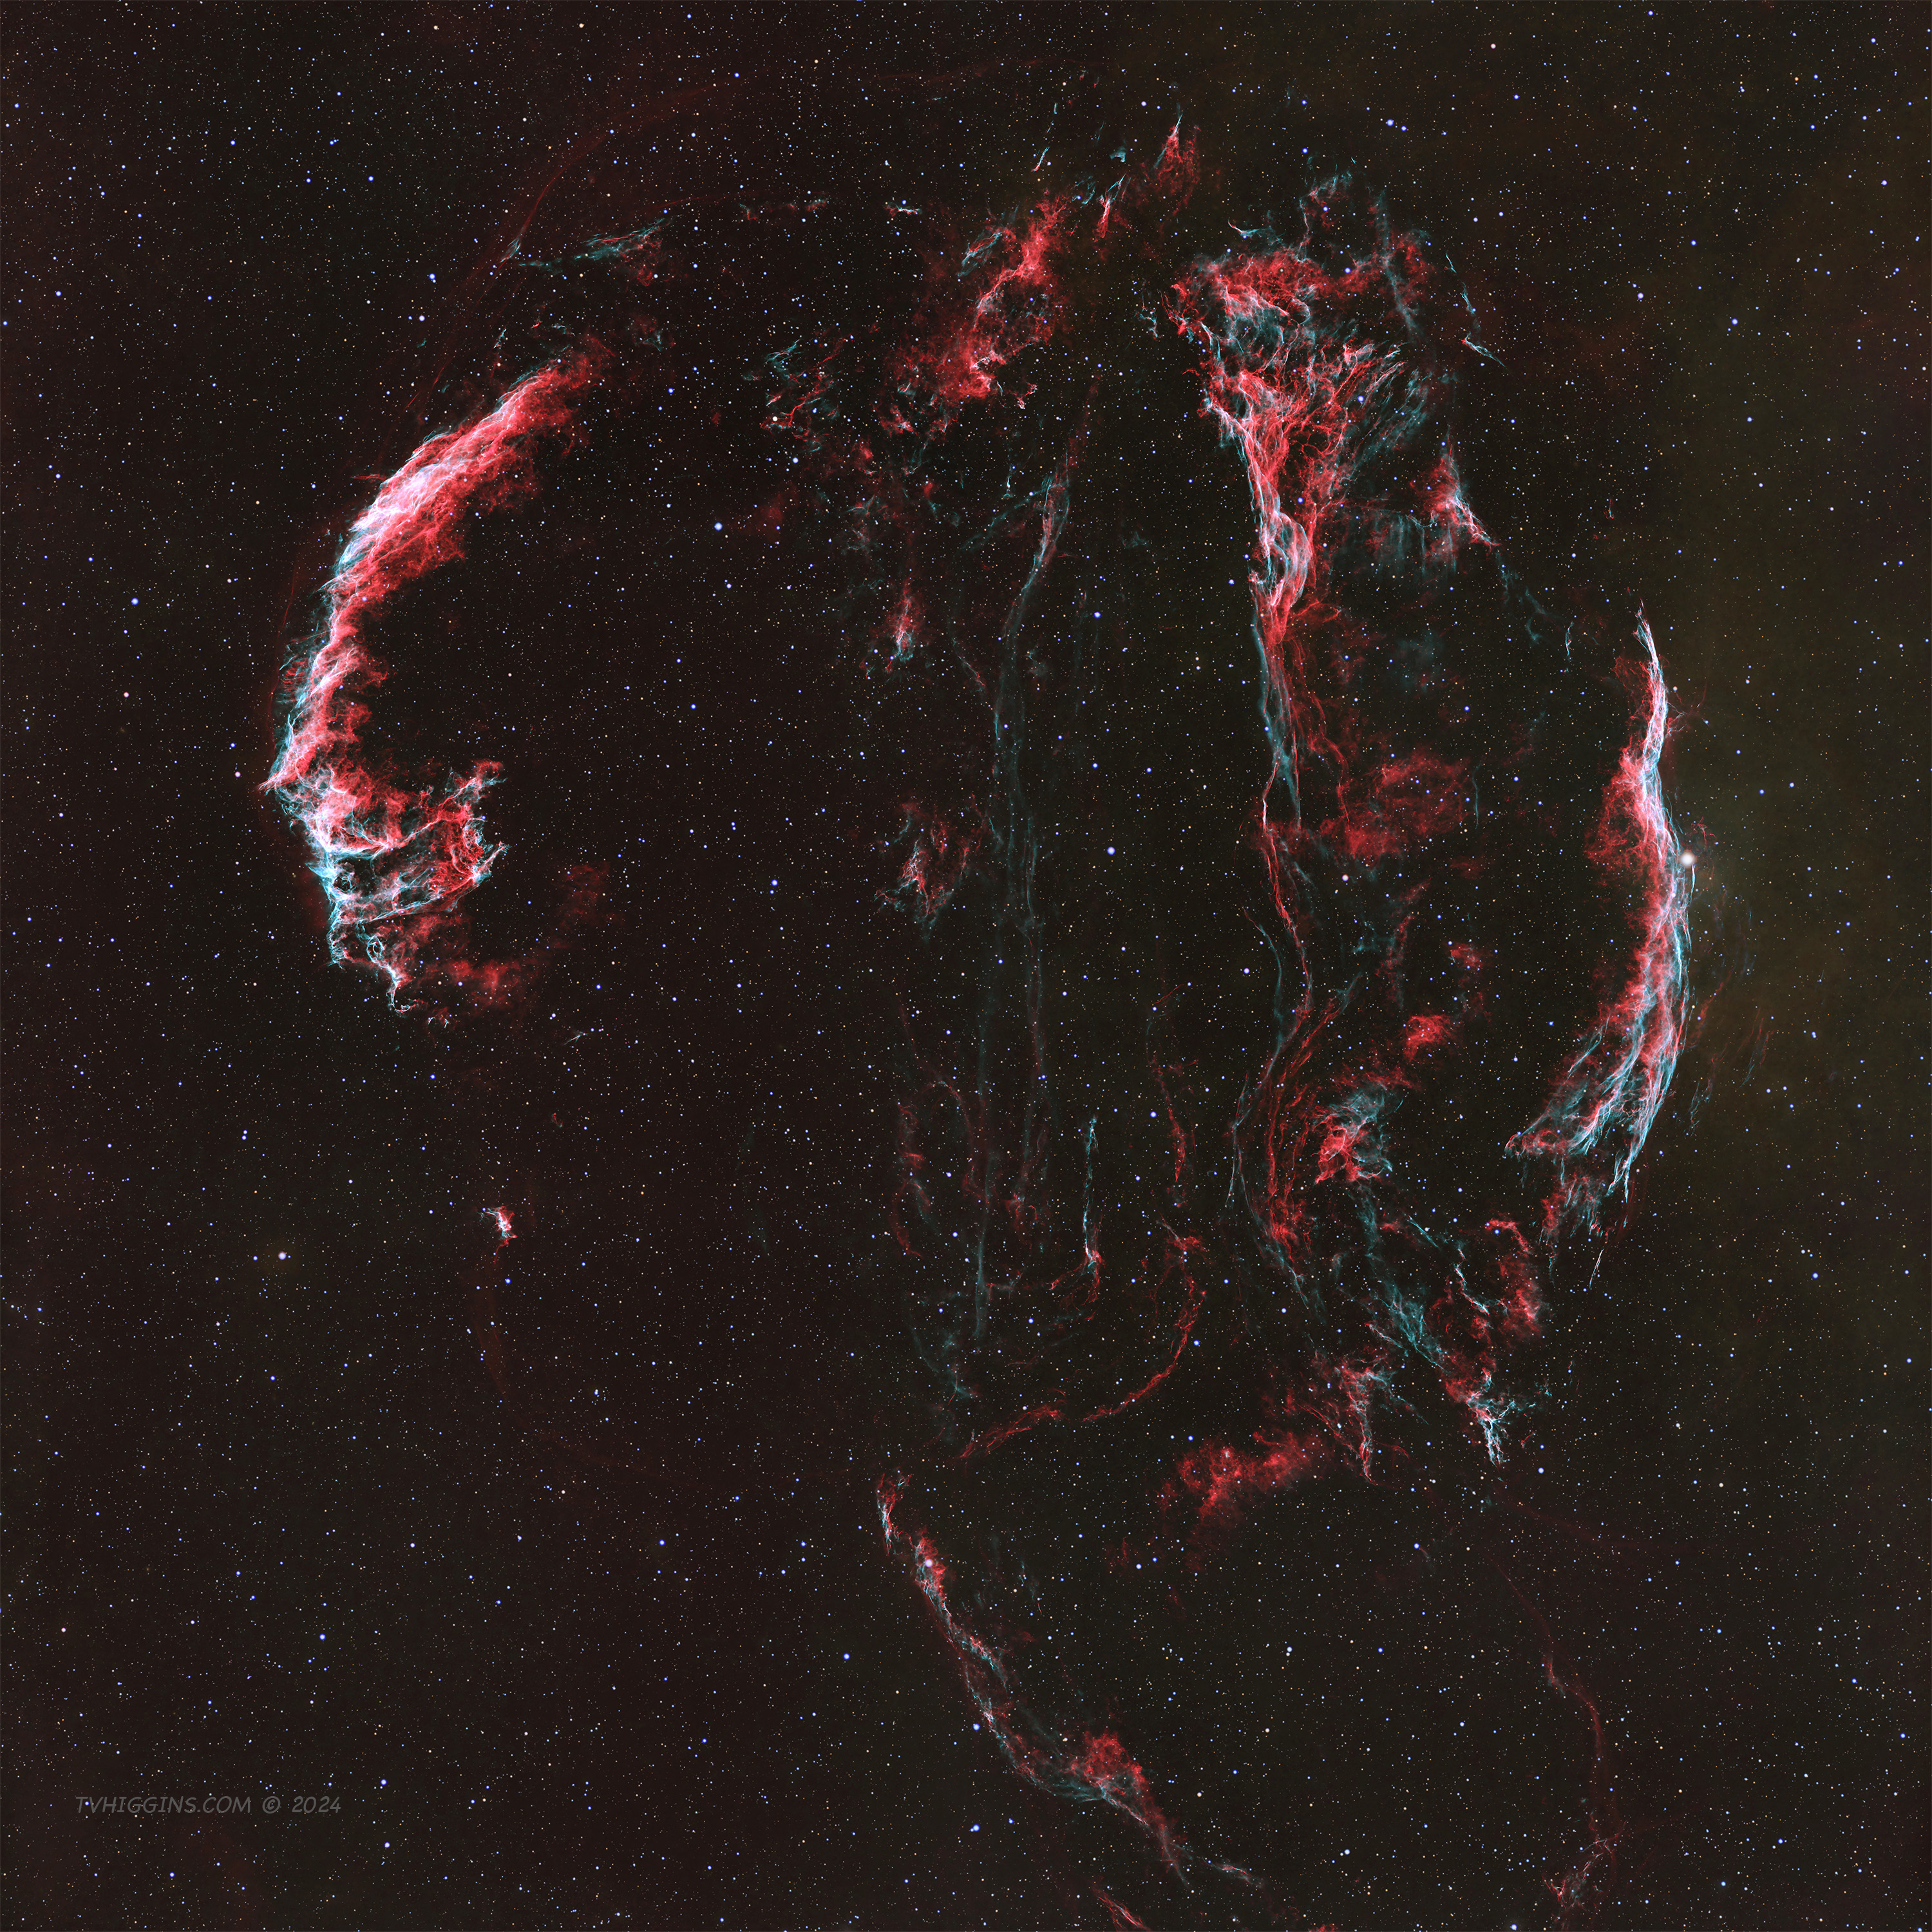
Pickering’s Triangle is part of the expansive Cygnus Loop formation in the constellation Cygnus. This vast structure of emission nebulae, which now spans some 120 light years of space, is the product of an ancient supernova, the remnants of which are still streaking through the interstellar medium (ISM). The energy released into the ISM causes it to glow at wavelengths across the spectrum from x-rays to radio waves. This image, taken in the visible spectrum, captures the continuum emissions of dust/molecules (white) as well as the line emissions from hydrogen atoms (red) and oxygen atoms (teal).
The nebula was discovered in 1904 and named for the director of the Harvard College Observatory Edward Pickering, but it was actually found by his assistant Williamina Fleming; consequently, it is also known as Fleming’s Triangle. Fleming discovered and cataloged many other astronomical objects, including the Horsehead Nebula.
To photograph this object with my new astrograph, RGB subframes were shot first at a dark-sky location far away from the city. Back in the city, I then shot 8 hours of narrowband subframes in H-alpha and 8 hours in O-III. Collection of all image data took about a month and a half to complete. All imaging sessions were fully automated with the ASIair.
To ensure the highest color fidelity of the star field and nebula, RGB color calibration was achieved during processing using Gaia’s latest photometric data (https://www.aanda.org/articles/aa/full_html/2016/11/aa29272-16/aa29272-16.html#app) and PixInsight’s Spectrophotometric Color Calibration tool. Blending the narrowband data into a final HaOiiiRGB image was accomplished using the PixelMath tool. The latest AI image-processing tools were also employed for noise reduction, star-field optimization, and deconvolution. The resulting image reveals Pickering’s Triangle and its surrounding star field with superlative color and clarity.